Fixing the Your PC Did Not Start Correctly Error
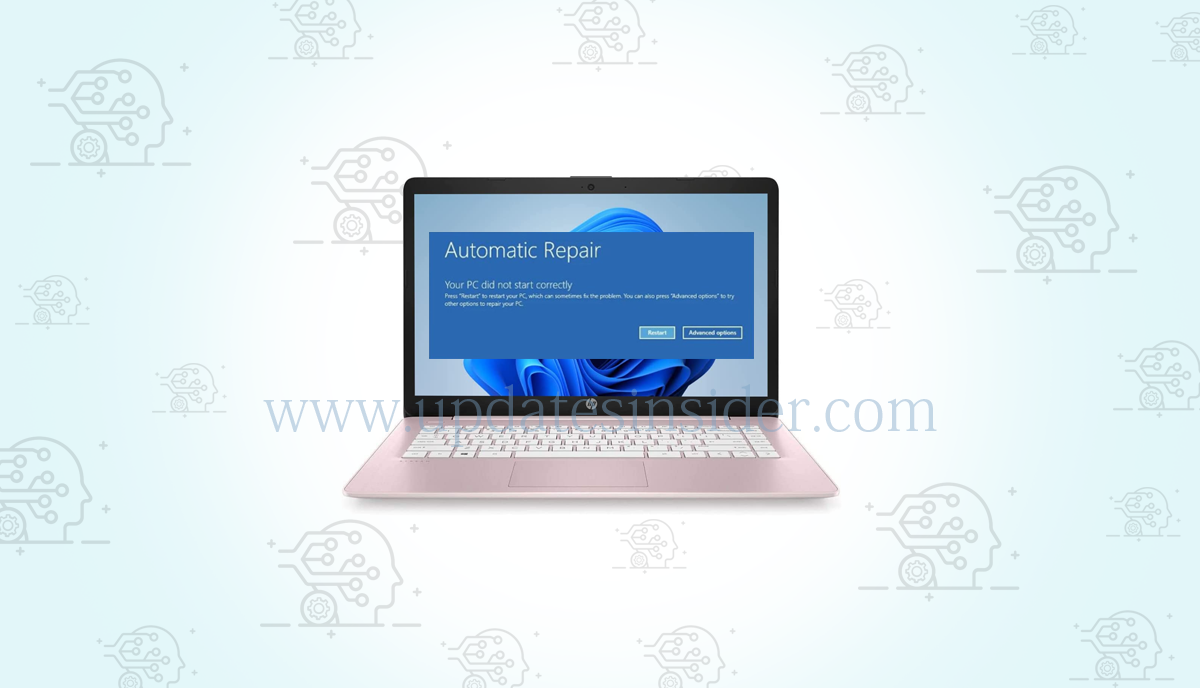
The “your PC did not start correctly” error message may appear when the computer is unable to boot into Windows. This error message suggests that there may or may not be a problem that has to be fixed during the boot process. Restarting the computer may sometimes solve the issue, but if it doesn’t work, there are a few alternative solutions. Get to know how to fix your PC did not start correctly!
What Is the ‘Your PC Did Not Start Correctly’ Error?
This issue suggests that the Windows 11 boot process was halted. The reasons may consist of:
When the computer shuts down before Windows can boot up or when the power goes out while the computer is booting up, Incorrect configurations occur. Bad drivers. Recent Windows update.
Also Read: Windows Encountered a Problem Installing the Driver: How to Fix Driver Installation Errors
‘Your PC Did Not Start Correctly’ Error: How to Fix It?
As there are several potential reasons for this problem, addressing it requires examining each one sequentially. If Windows loads on your computer at any point, you may skip the next steps and go on with your regular computer use.
The “fix your pc did not start correctly error” problem may be resolved as follows:
Run the Startup Repair Tool
A built-in Windows tool called Startup Repair looks for and fixes any computer issues. Try using the Startup Repair tool once if your computer is not starting up properly and keeps coming up with the same Automatic Repair screen.
To use the Startup Repair utility on a Windows computer, follow these steps:
- The “Your PC did not start correctly” message should appear first. Then, choose Advanced options rather than Restart.
- Select Startup Repair by going to Troubleshoot > Advanced Options. You’ll see a new screen informing you that Windows is now attempting to resolve the device’s boot problems.
- Click the Restart option to finish the procedure if, after following the previous step, you continue to get the same blue screen.
- Most of the time, the Startup Repair tool should take care of the issue, but if it doesn’t, go to the following step.
Boot into Safe Mode
By starting your computer in Safe Mode, you may troubleshoot Windows in a restricted manner. Use Safe Mode to copy your data to a flash drive if you need to recover crucial information from a broken machine. It’s also possible that restarting your computer after entering Safe Mode would resolve the “Your PC did not start correctly” or “fix your pc did not start correctly error” problem.
To enter Safe Mode while booting your computer, follow these steps:
- Select Advanced Settings. Navigate to Troubleshoot > Advanced options > Startup Settings when the blue screen shows.
- Select “Restart.” You will get a list of starting choices when the computer resumes.
- Using the 4 or F4 key on your keyboard should cause Safe Mode to start up on your computer.
- This is an excellent moment to transmit any data you need. When you’re done, restart the computer to go back to the default version of Windows. All will be alright, and your mistake will be forgotten.
Perform a System Restore
The problem could have started to show up if you’ve lately made any system modifications. You may have your system time-travel to a moment when it functions properly if you’re not sure what adjustments you might have made. It may seem magical, but it’s really one of Windows’ most potent recovery features—the System Restore capability. Nevertheless, System Restore is only available if your system has already made a restore point. Fortunately, Windows will generate a restore point every time you make a significant change, like installing a driver or updating Windows, if System Restore is enabled on your computer. Because of this, chances are you have some restore points available already.
When you’re ready, carry out a system restore by following these instructions:
- In the Advanced Options menu, choose System Restore. If you have more than one administrator account, you may now need to select and log in to the one you want to restore.
- To see the system restoration main screen, click Next.
- After choosing a restore point made when everything was operating well, click Next.
- You may view the apps that will go after the restoration by clicking on Scan for Affected apps on the following page if you’re worried that this could eliminate a crucial application you just installed.
- To proceed and let Windows complete the operation, click Finish.
Check for Missing or Corrupt System Files
If one or more system files are missing or damaged, Windows may have problems starting up. Use the System File Checker (SFC) tool to resolve the issue.
Here’s how to use the Command Prompt to access the SFC utility:
- Select Command Prompt under Advanced Options from the error screen.
- To download Windows system files for proper boot, first use the DISM (Deployment Image Servicing and Management) application in the Command Prompt window. This is the directive for that: DISM.exe /Online /Restorehealth /Cleanup-image.
- Next, use this command to launch the System File Checker tool: scan now /sfc
- The SFC utility for damaged or missing system files scans your computer. When the system file repair and scanning is complete, run this command to have your computer restart itself automatically: Turn off and restart
Also Read: How to Factory Reset a Windows?
Repair the Boot Configuration Data
BCD is an acronym for boot configuration data in Windows terminology. The Windows boot loader is told where to look for the boot information based on this information by the Windows runtime environment. In the event that one or more files have gotten corrupted or vanished, it may be worthwhile to attempt repairing your system’s BCD if none of the above solutions worked for you.
The procedures listed below may be used to repair the boot configuration data:
- From the error page, choose Advanced Options > Command Prompt.
- Enter the following command into the Command Prompt: restore /bootrec bcd
- Press Y or A to add every Windows installation that the bootrec command finds to the boot list. Run each of the following instructions after that:
- Make careful to input each command one at a time if you encounter any errors. After finishing, hit Y and Enter. Finally, restart the computer once the boot configuration data has been corrected.
Conclusion
Windows users may find the “Your PC Did Not Start Correctly” error to be a frustrating roadblock. Still, with the correct troubleshooting techniques, you can often fix the problem and get your computer back up and operating normally. You may take back control of your system and make sure it begins successfully every time by comprehending the possible reasons for the mistake and implementing the necessary fixes. This unanticipated mistake might happen, therefore, always remember to back up your vital data periodically. In these cases, having a backup can literally save your life.